Battle Beans
Project Overview
I recently got an Oculus Quest and my biggest disappointment with it so far has been the lack of a satisfying simple archery game. So I decided to get together with the Radbot Productions crew and make one! Here is a break down of my work on the project so far.
My Responsibilities
-Visual Design
-Asset Creation
-Rigging
-Animation
-UX/UI
-Ideas
Game Design
I’ve worked on a number of game projects that never saw the light of day. So for this project I wanted to keep the scope really really small and just focus on nailing the most important aspects; the aesthetics, the multiplayer functionality and the shooting mechanics.
The beans
The beans were my answer to coming up with a fun enemy that people would love to shoot! The whole point of this game is for it to feel satisfying when you shoot these little dudes. So naturally they would have to explode in a fun way too!
The Players
VR by itself is fun, but it’s even more fun with friends. So I decided to make this a multiplayer game! This is any early exploration of what you’ll see when you look at your friends. You’ll be able to customize your archers color and eventually earn fun bows and hats!
The bow
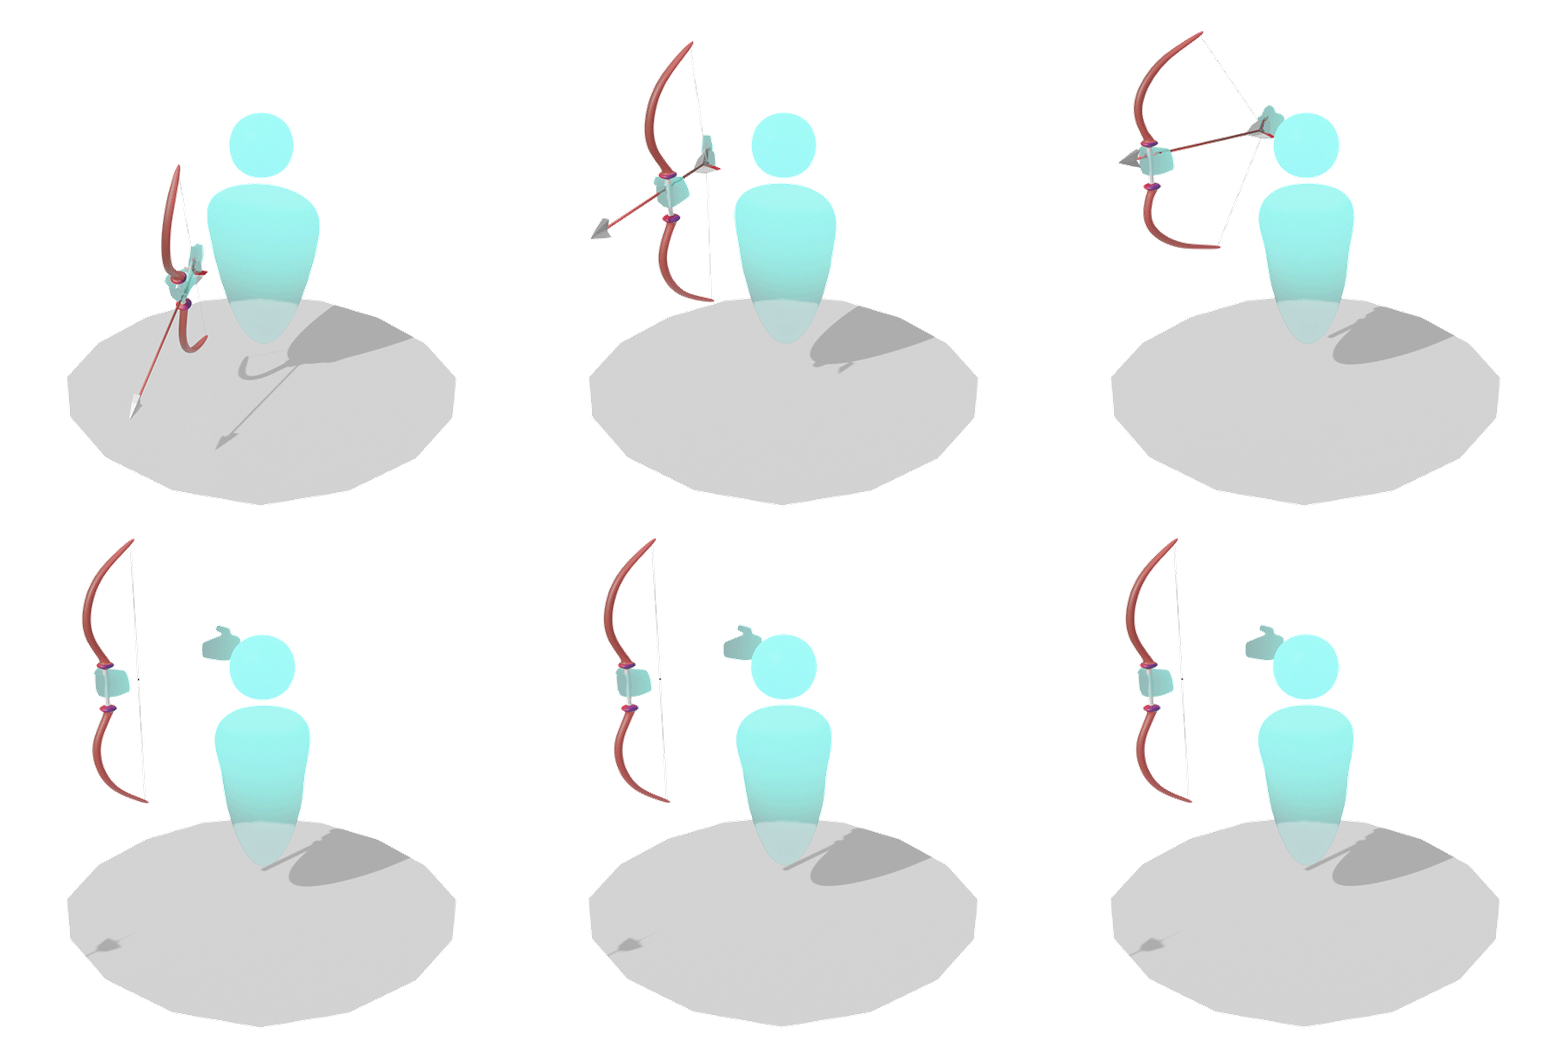
Here is an early exploration for the look and feel of the bow. The goal is for players to eventually be able to unlock new bows based on their progress though the game.
Interaction Design
A combination of competitive research (i.e. playing a lot of VR), reading up on common VR UX practices and prototyping has guided my approach to developing the interaction design for Battle Beans.
vr preview
Using the VR add-on for Blender has given me the ability to preview my work in VR as I design and model. This allows me to quickly iterate and get a better feel for the scale, distance and perspective of my scenery and assets.
UI prototyping
Using Maquette I’m able to jump into my VR environments and block out the UI. This gives me a better sense of where things are placed and why, making for a more comfortable and intuitive interface. Once I’m satisfied with the placement I can refine the assets and materials in Blender.


